Integration guide
Shippr wants to make your life easier from A to Z. That is why we have put together an integration guide that explains, step by step, how to install the Shippr plug-in in your Shopify.
Ready to take the plunge?Connect your Shopify to the Shippr app
Shippr wants to make your life easier from A to Z. That is why we have put together an integration guide that explains, step by step, how to install the Shippr plug-in in your Shopify.
Ready to take the plunge?Now that the Shippr plug-in is officially integrated with your Shopify, it is time to get started. If you feel lost, here is a guide to sending your deliveries with Shippr.
Off you go!Shippr integration guide
Search for “Shippr” in the search bar. You will find the Shippr plug-in there, along with what integrating your online store with Shippr brings you.
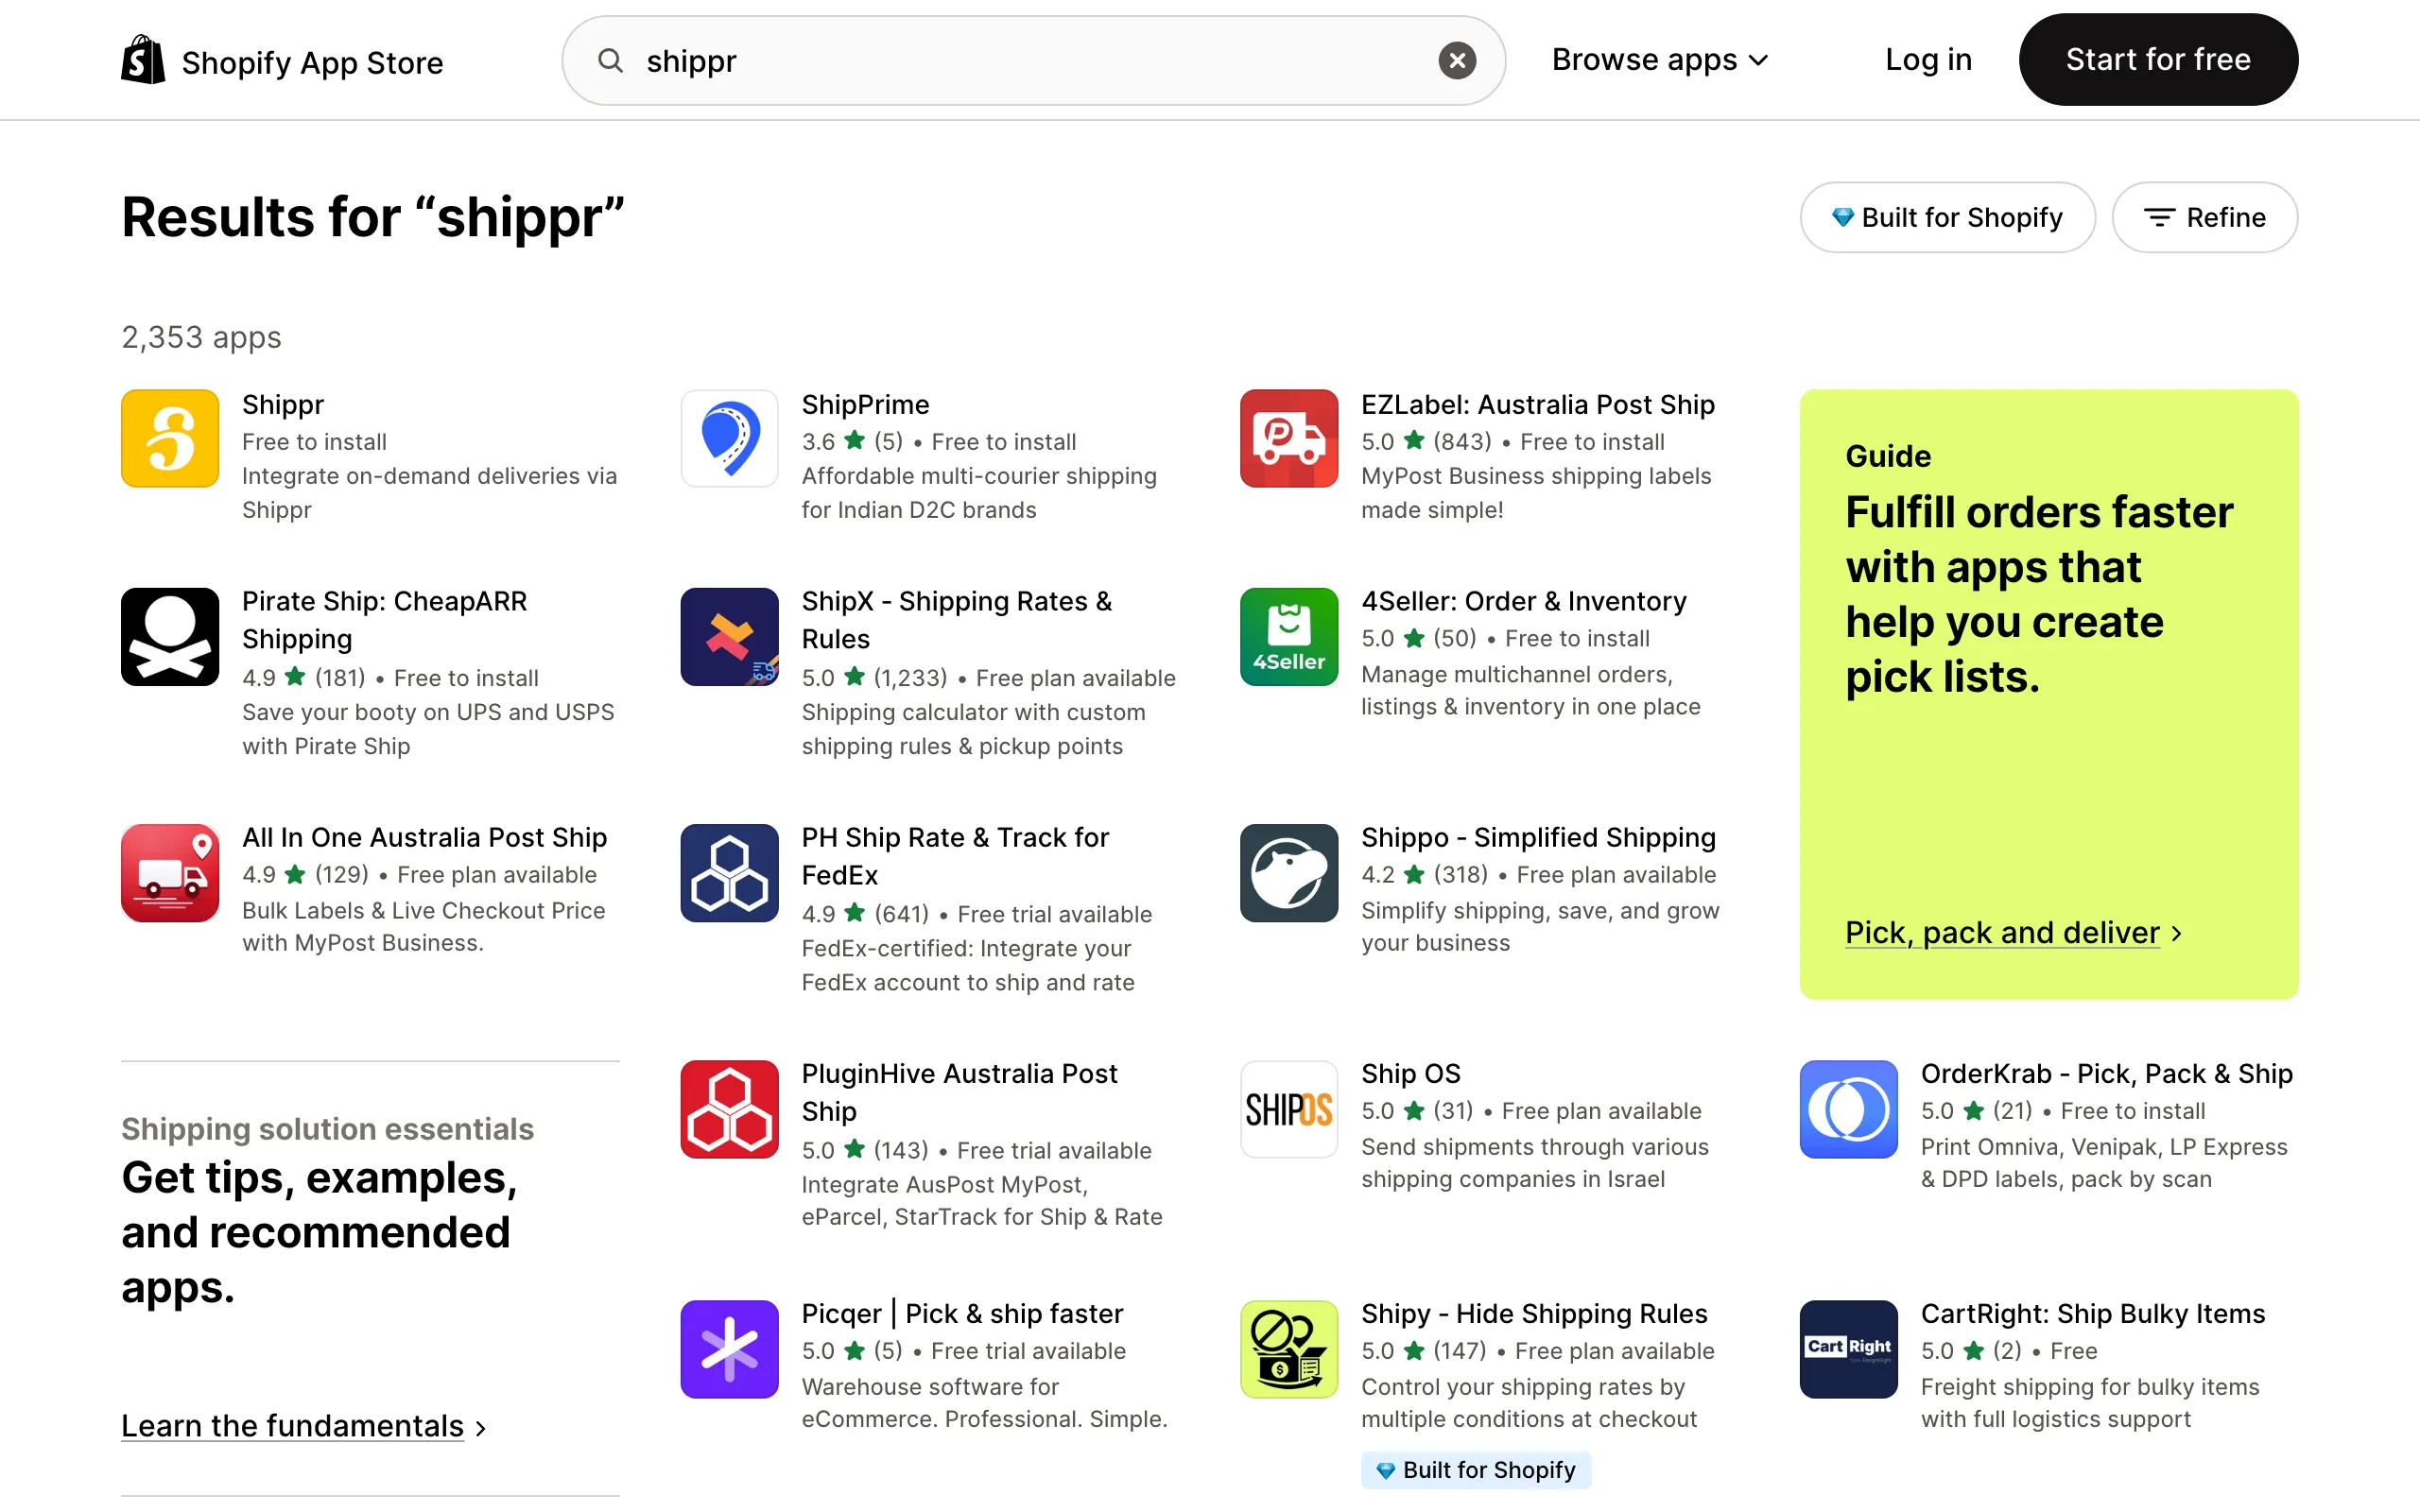
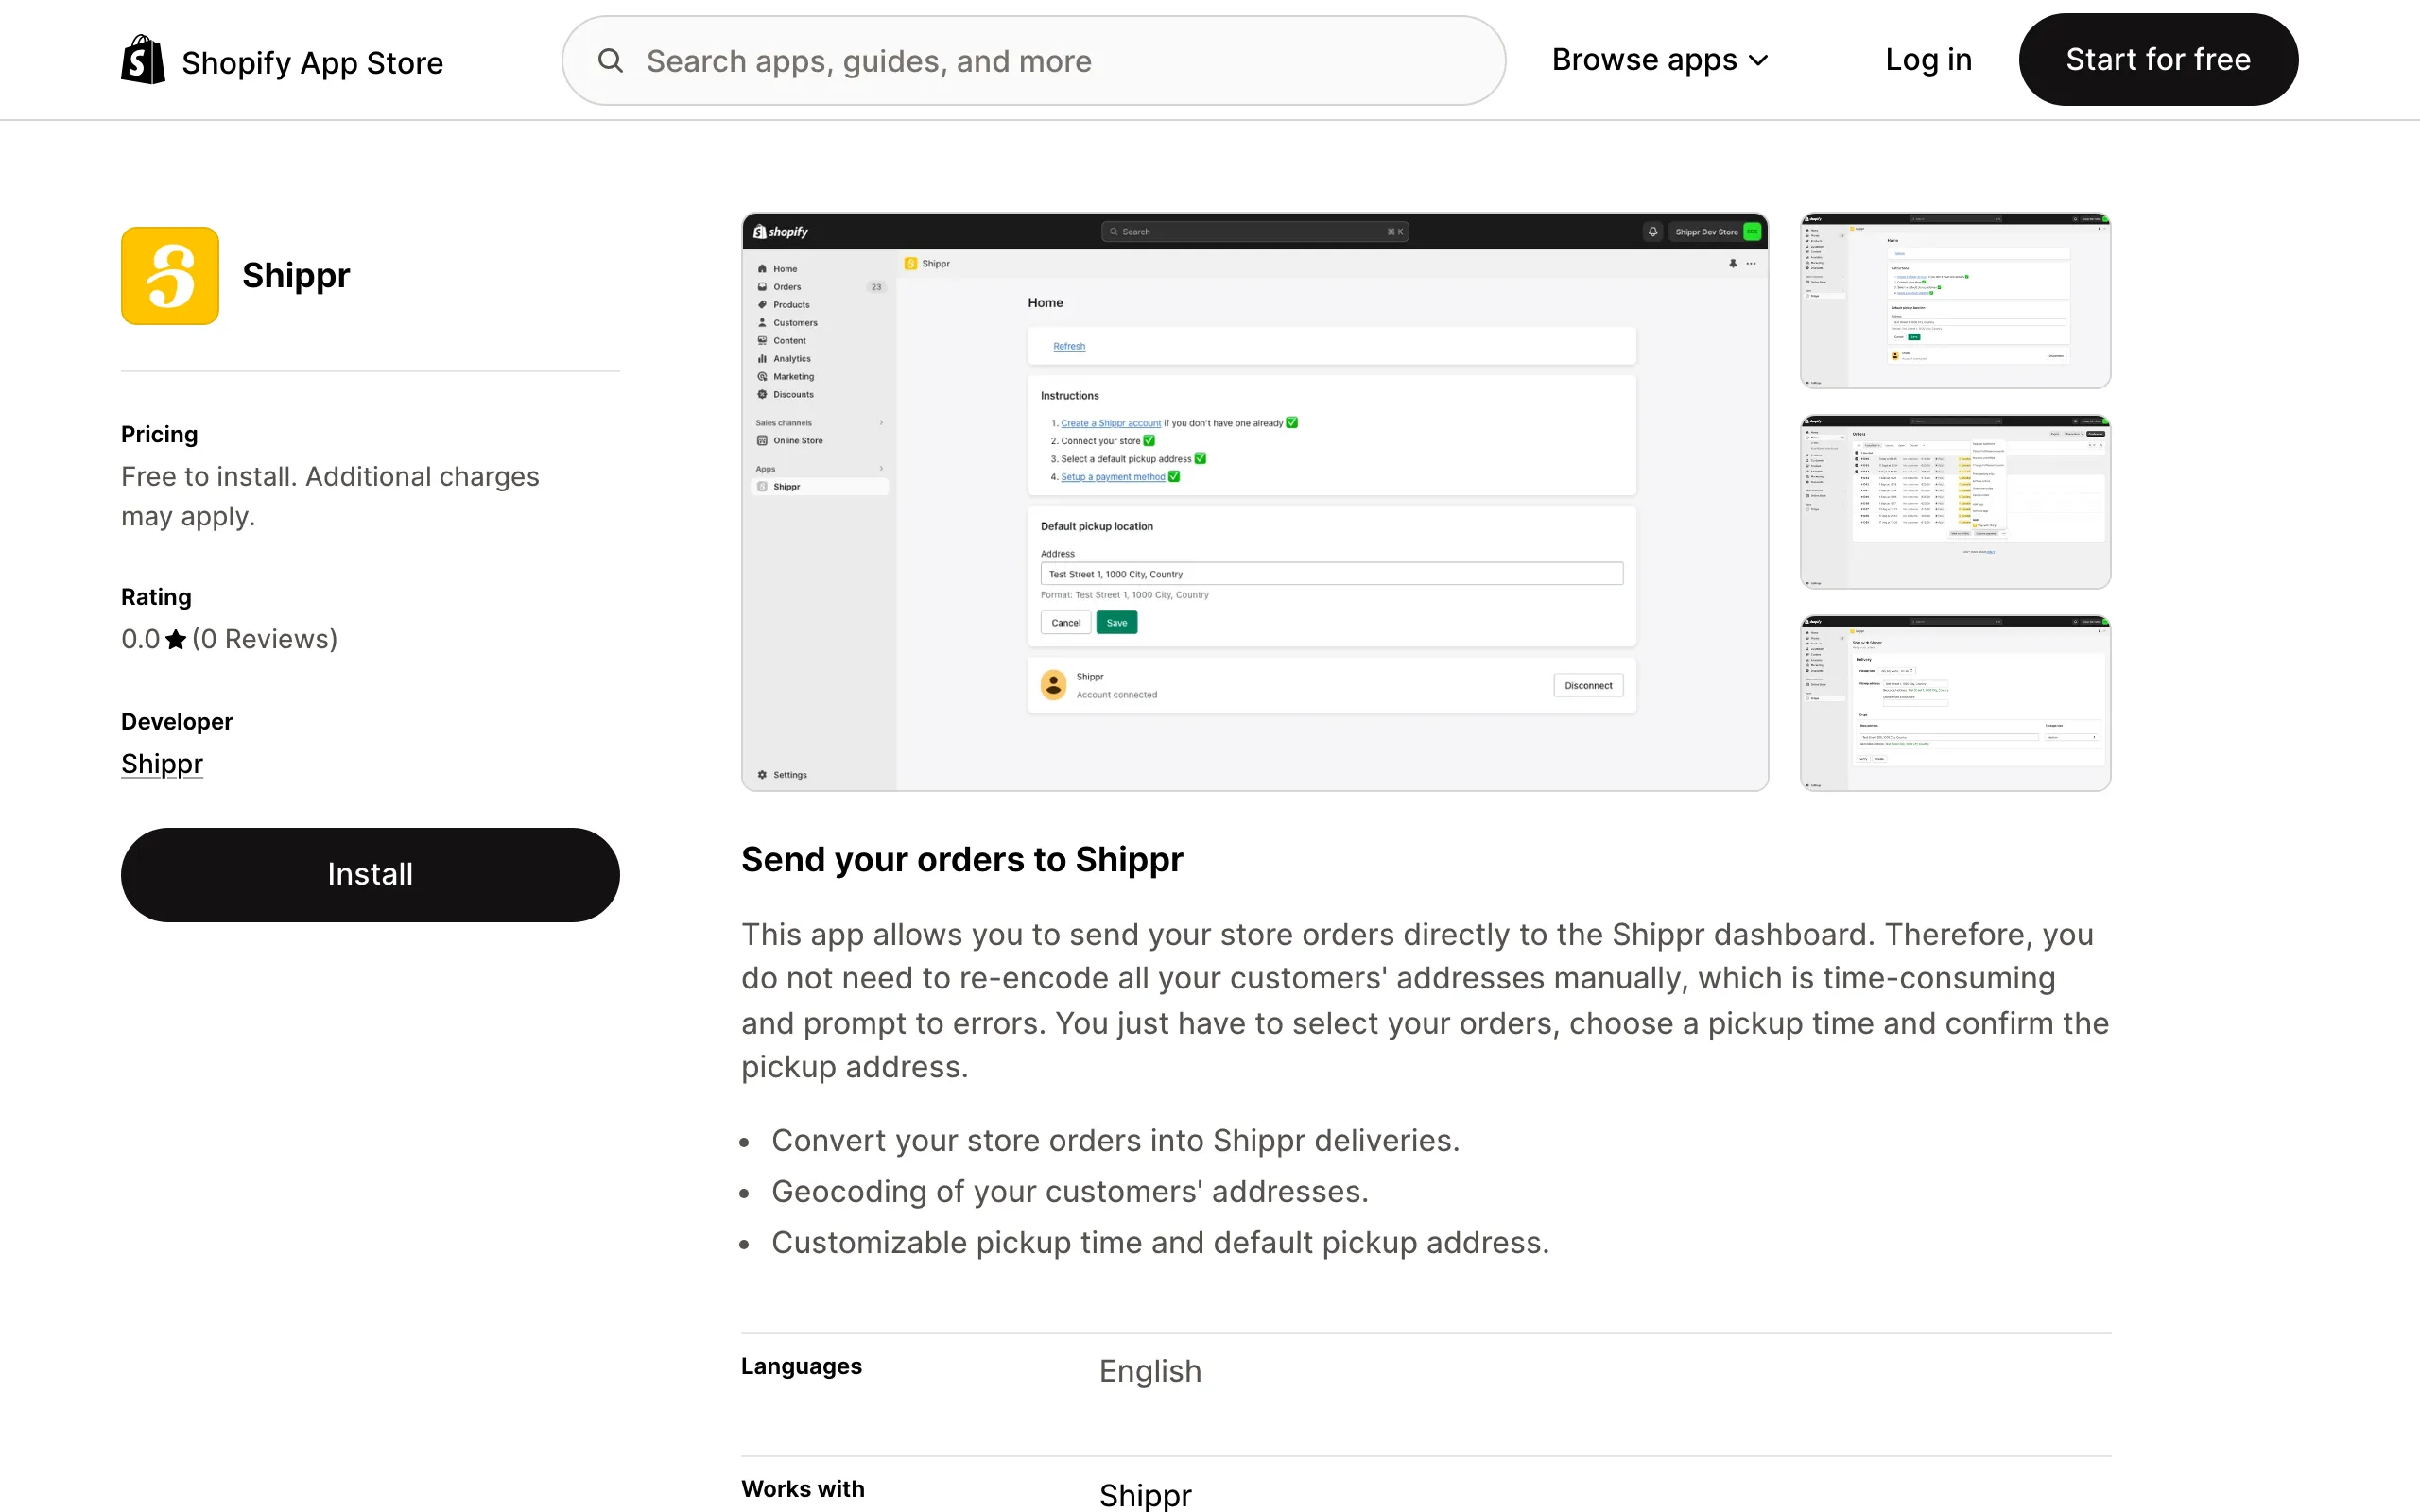
Open the app listing and click “Install”. Installing is free: Shippr only charges for deliveries that are actually carried out.
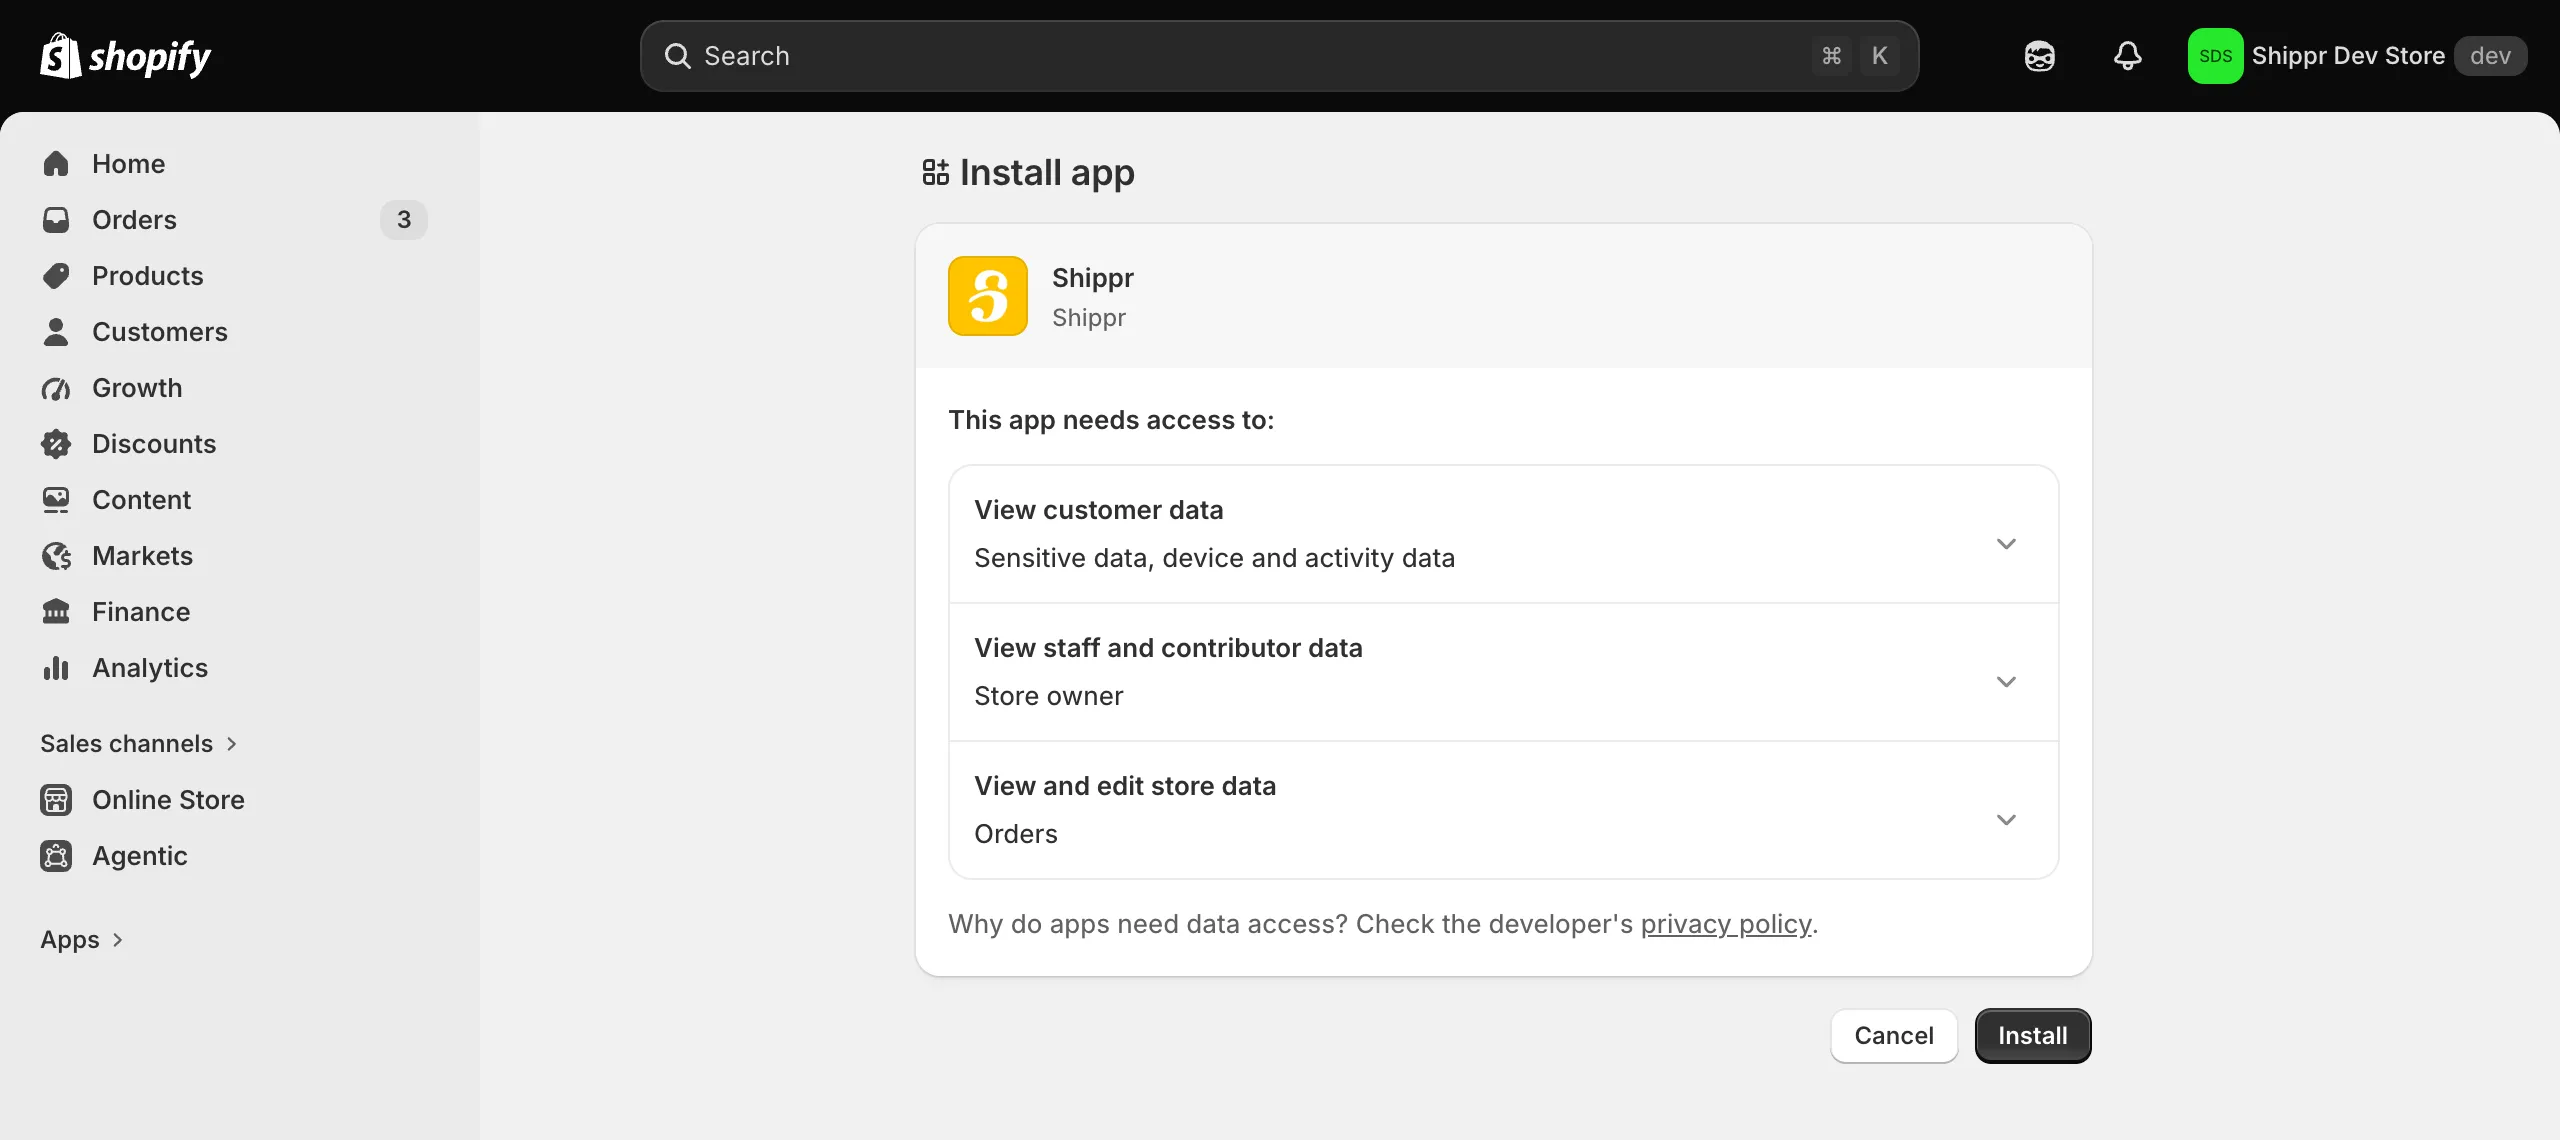
Shopify tells you which data the app will have access to: your customer data, the store owner, and your orders. Those permissions are what let Shippr pick up the delivery address from each order.
Click “Install” to finish the installation.
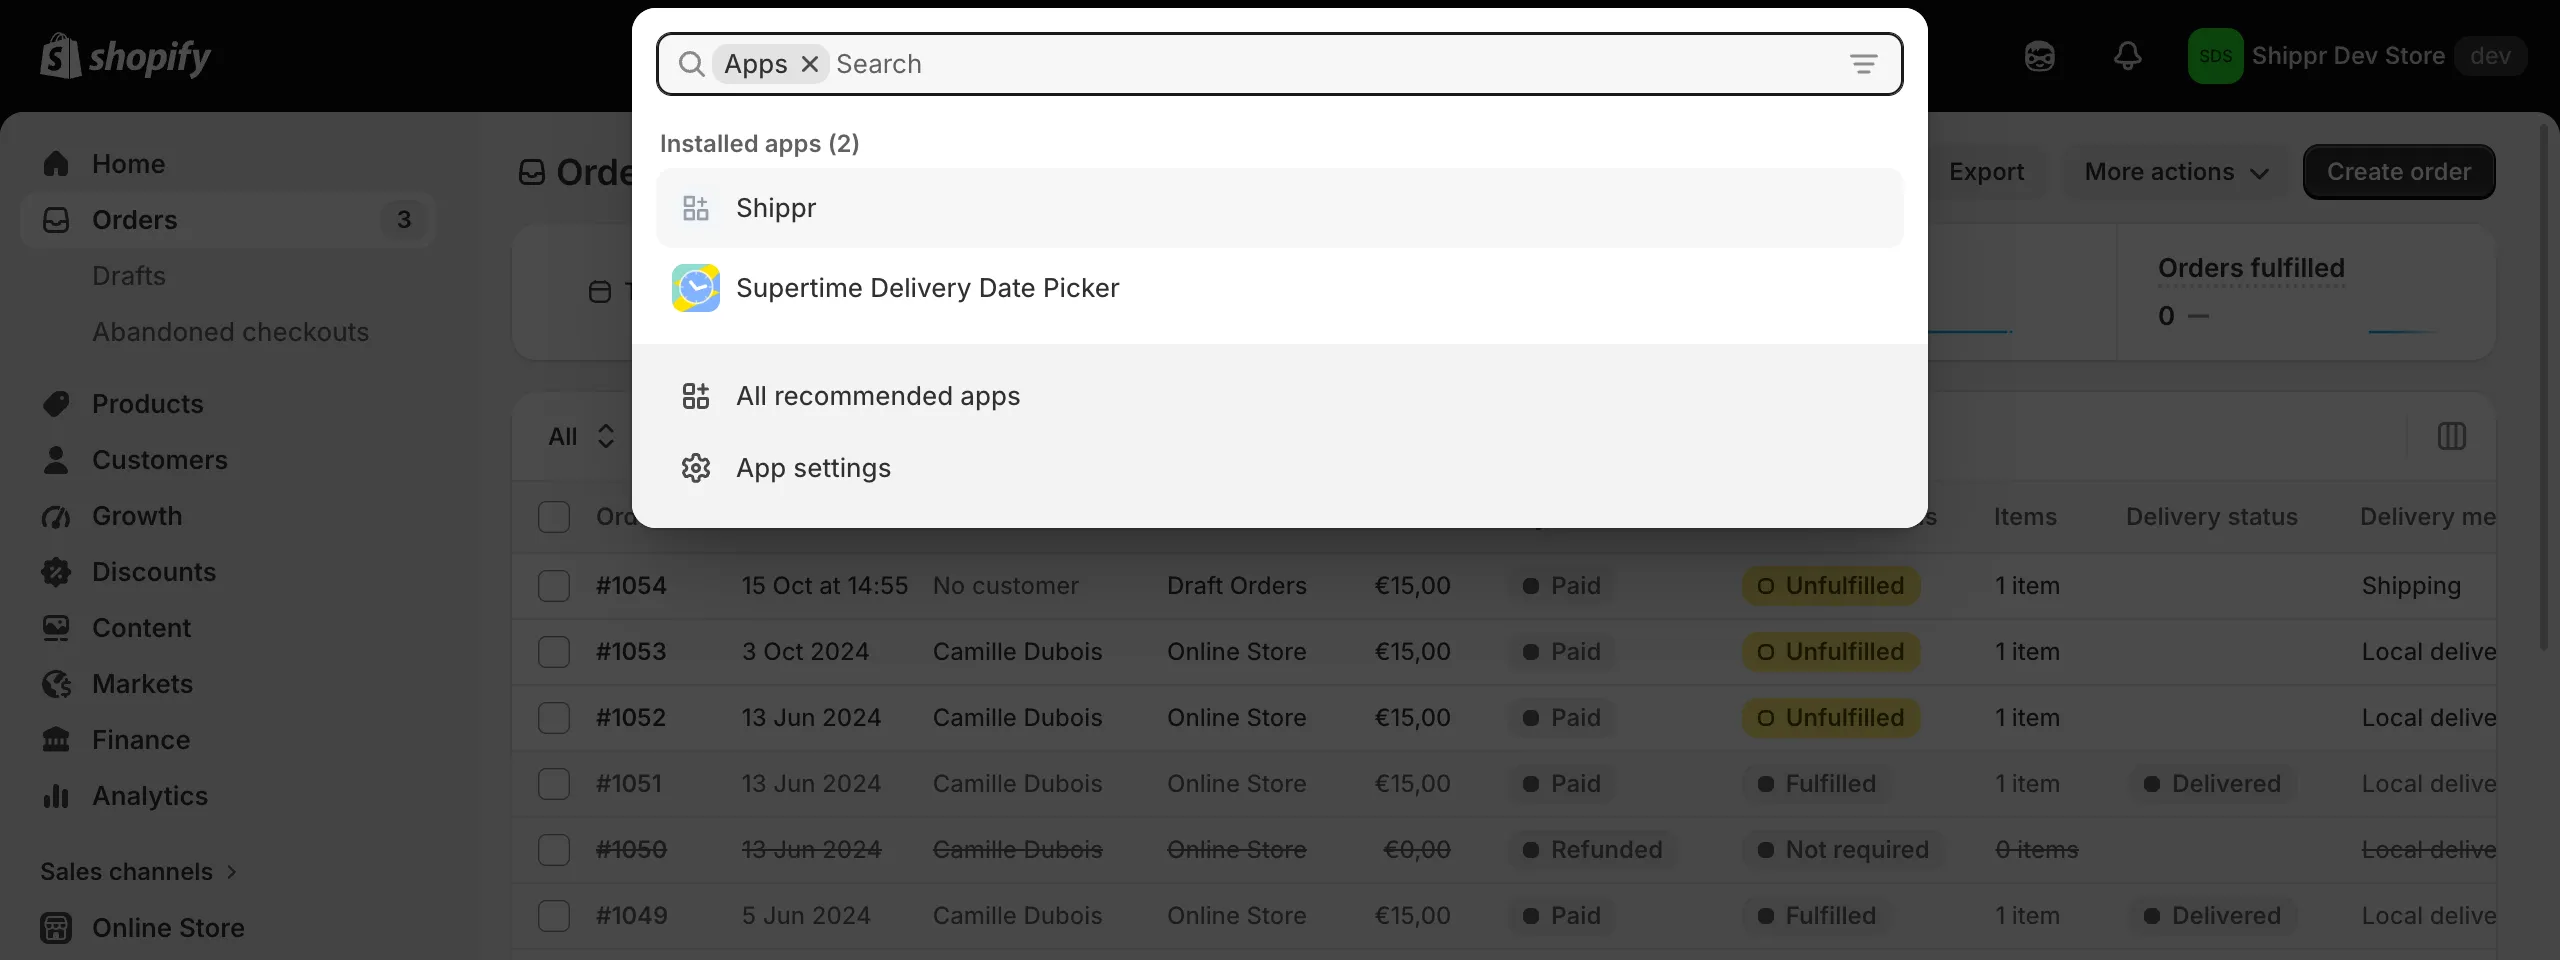
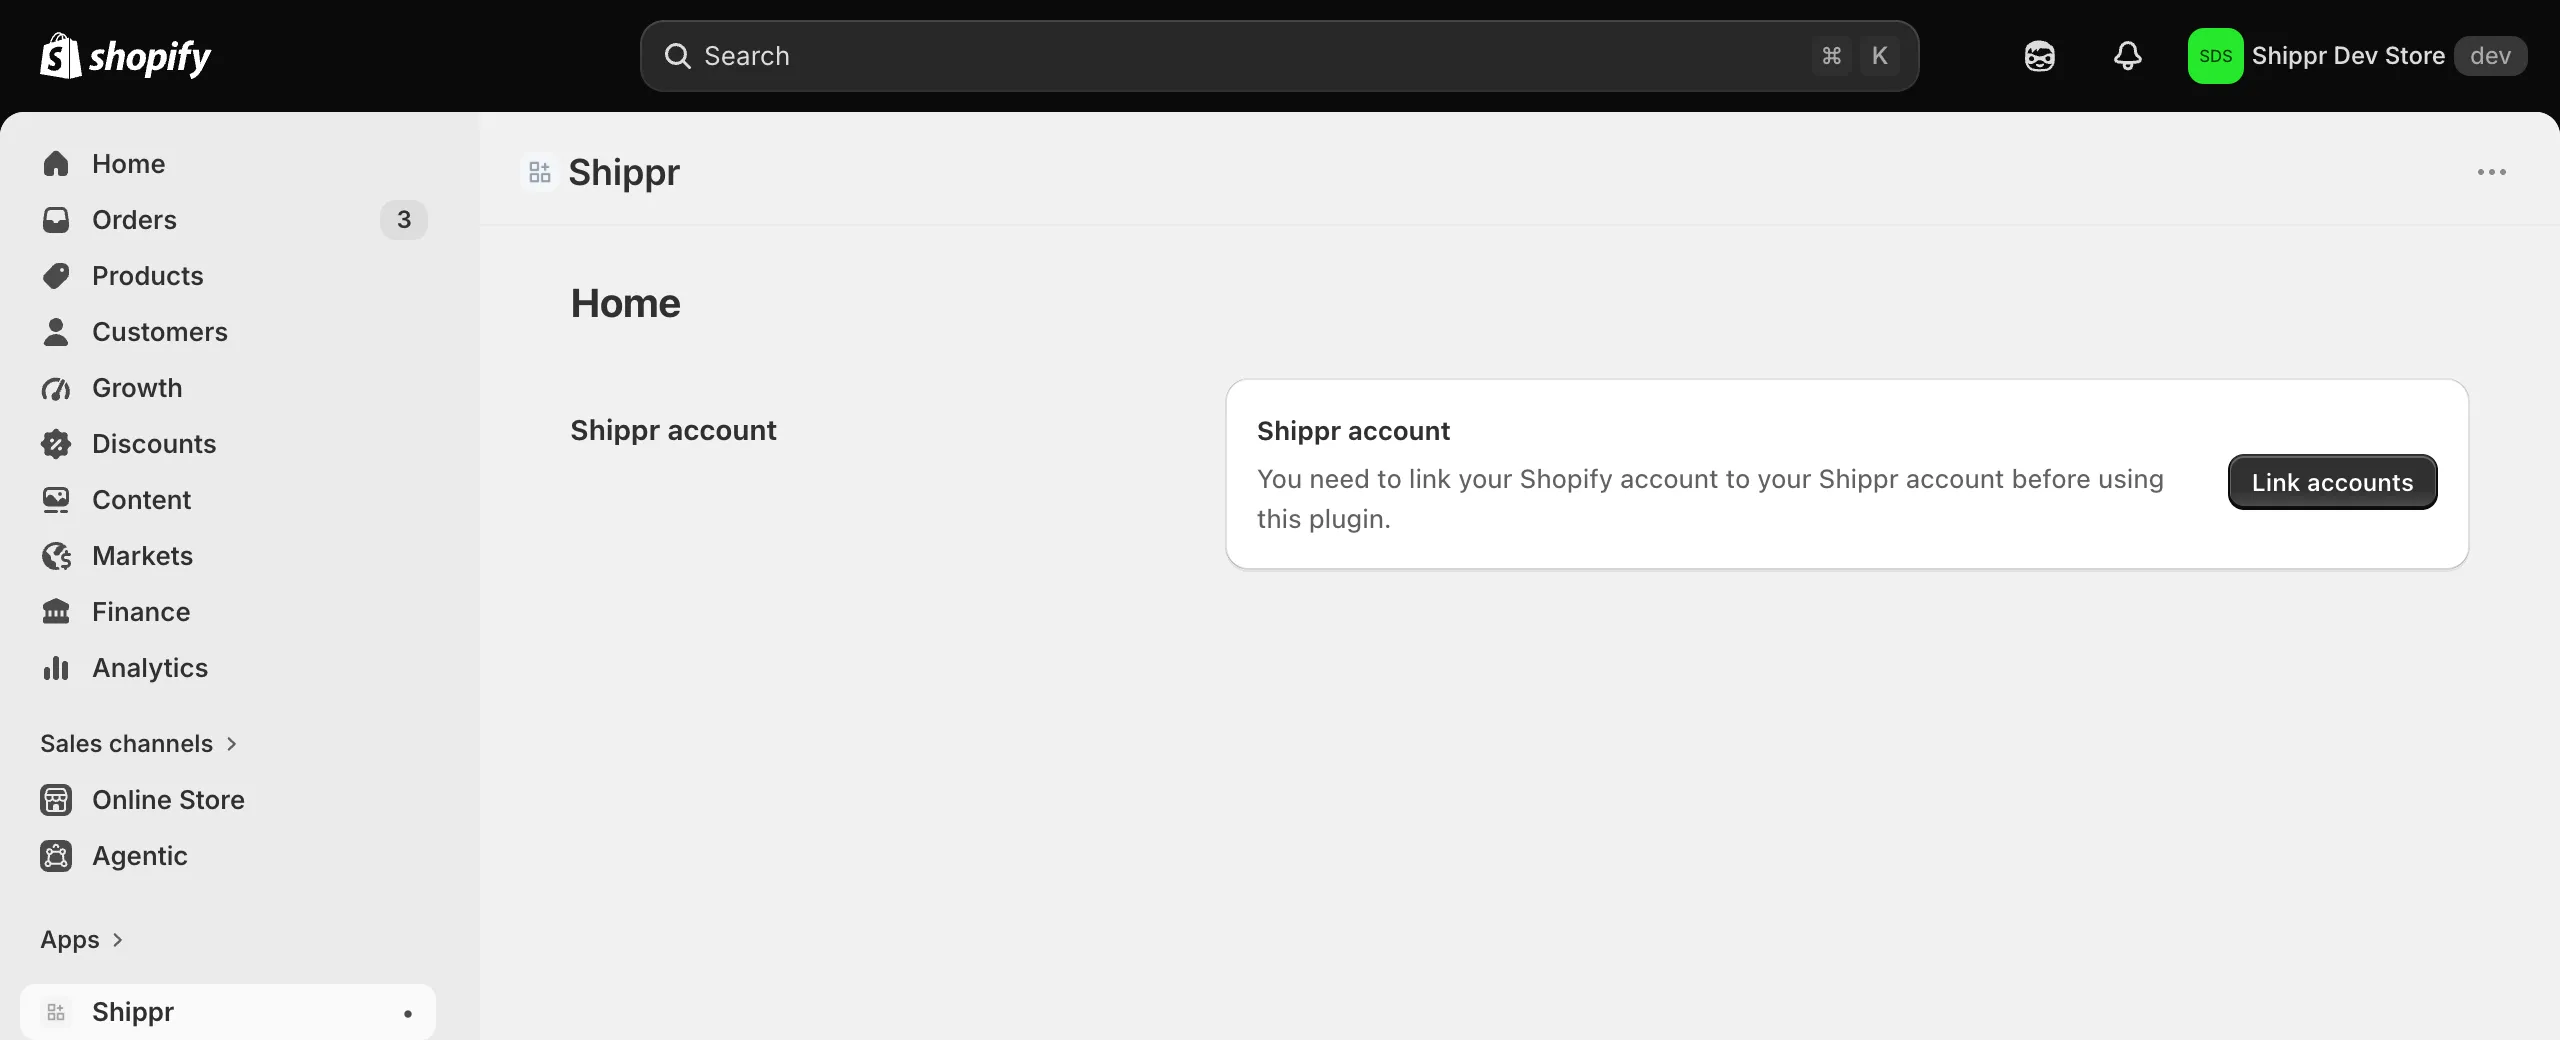
Your Shippr app is now installed and sits in the “Apps” section of your Shopify admin.
Once the two accounts are linked, the app shows the name of your Shippr account.
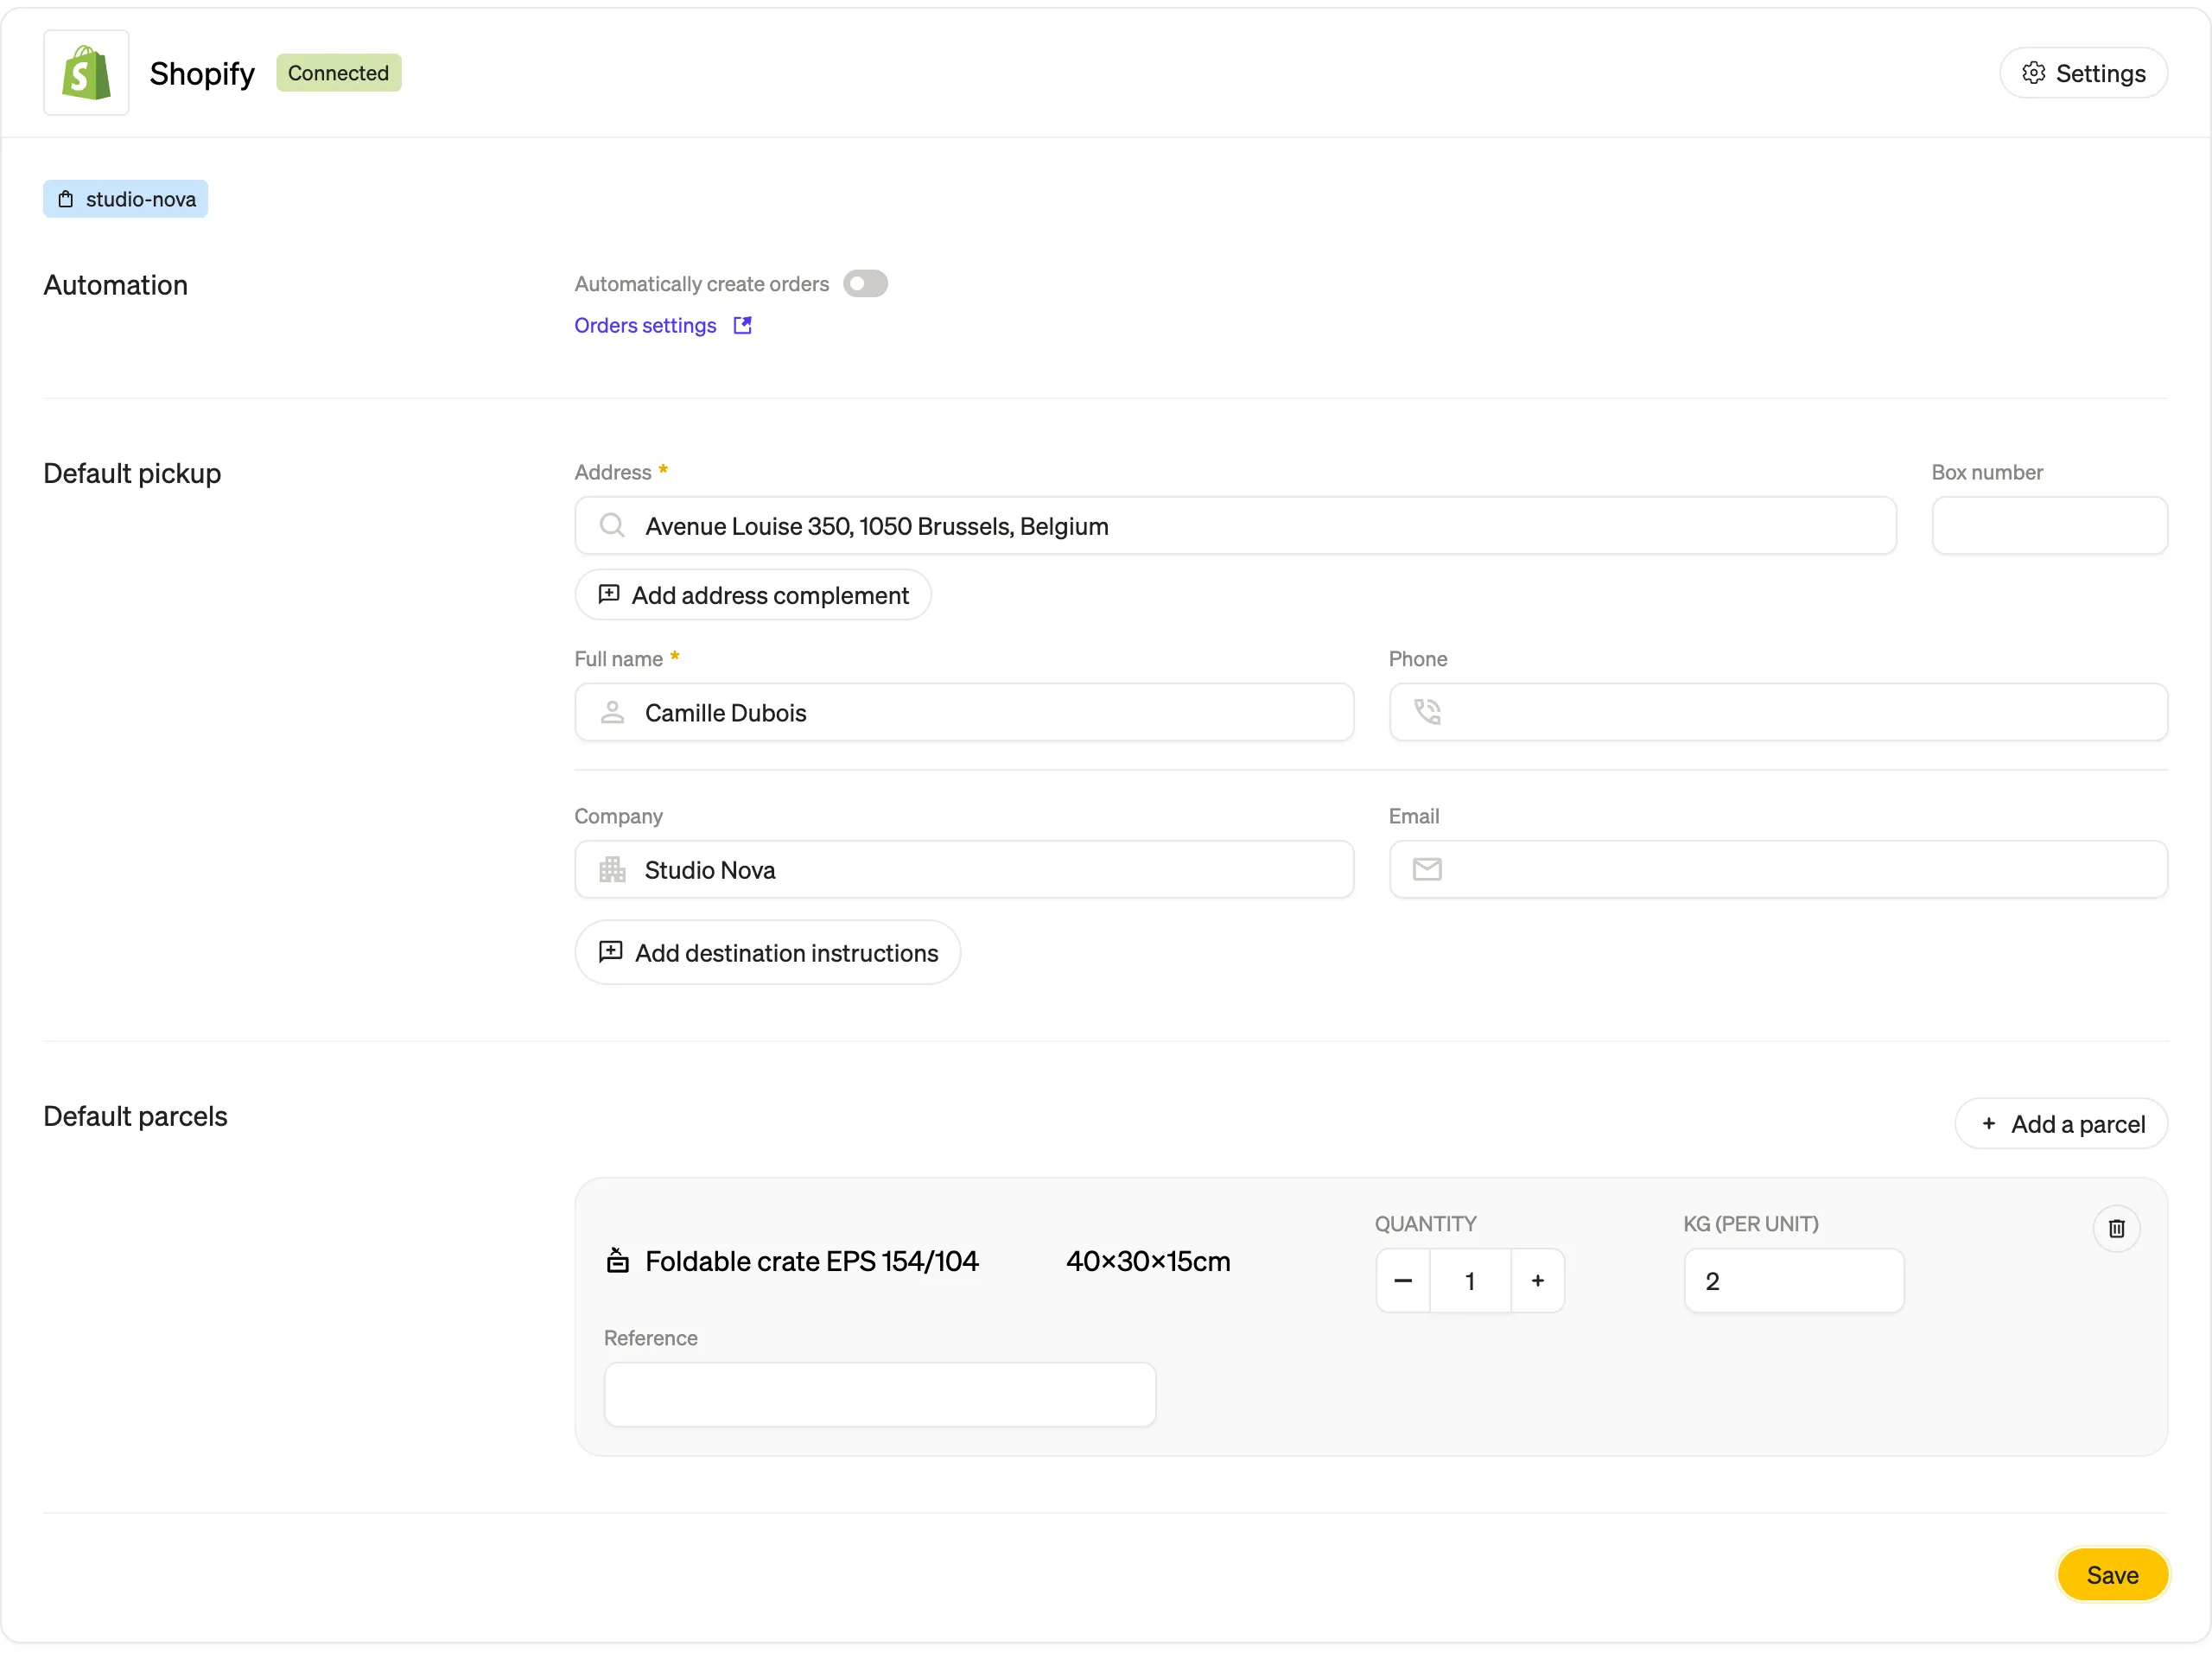
These settings live in your Shippr dashboard, under “Settings” and then “Integrations”. The Shopify app links straight to them.
That is it! You are all set to start your deliveries with Shippr. Move on to the usage guide to understand how the Shippr app works.
Usage guide
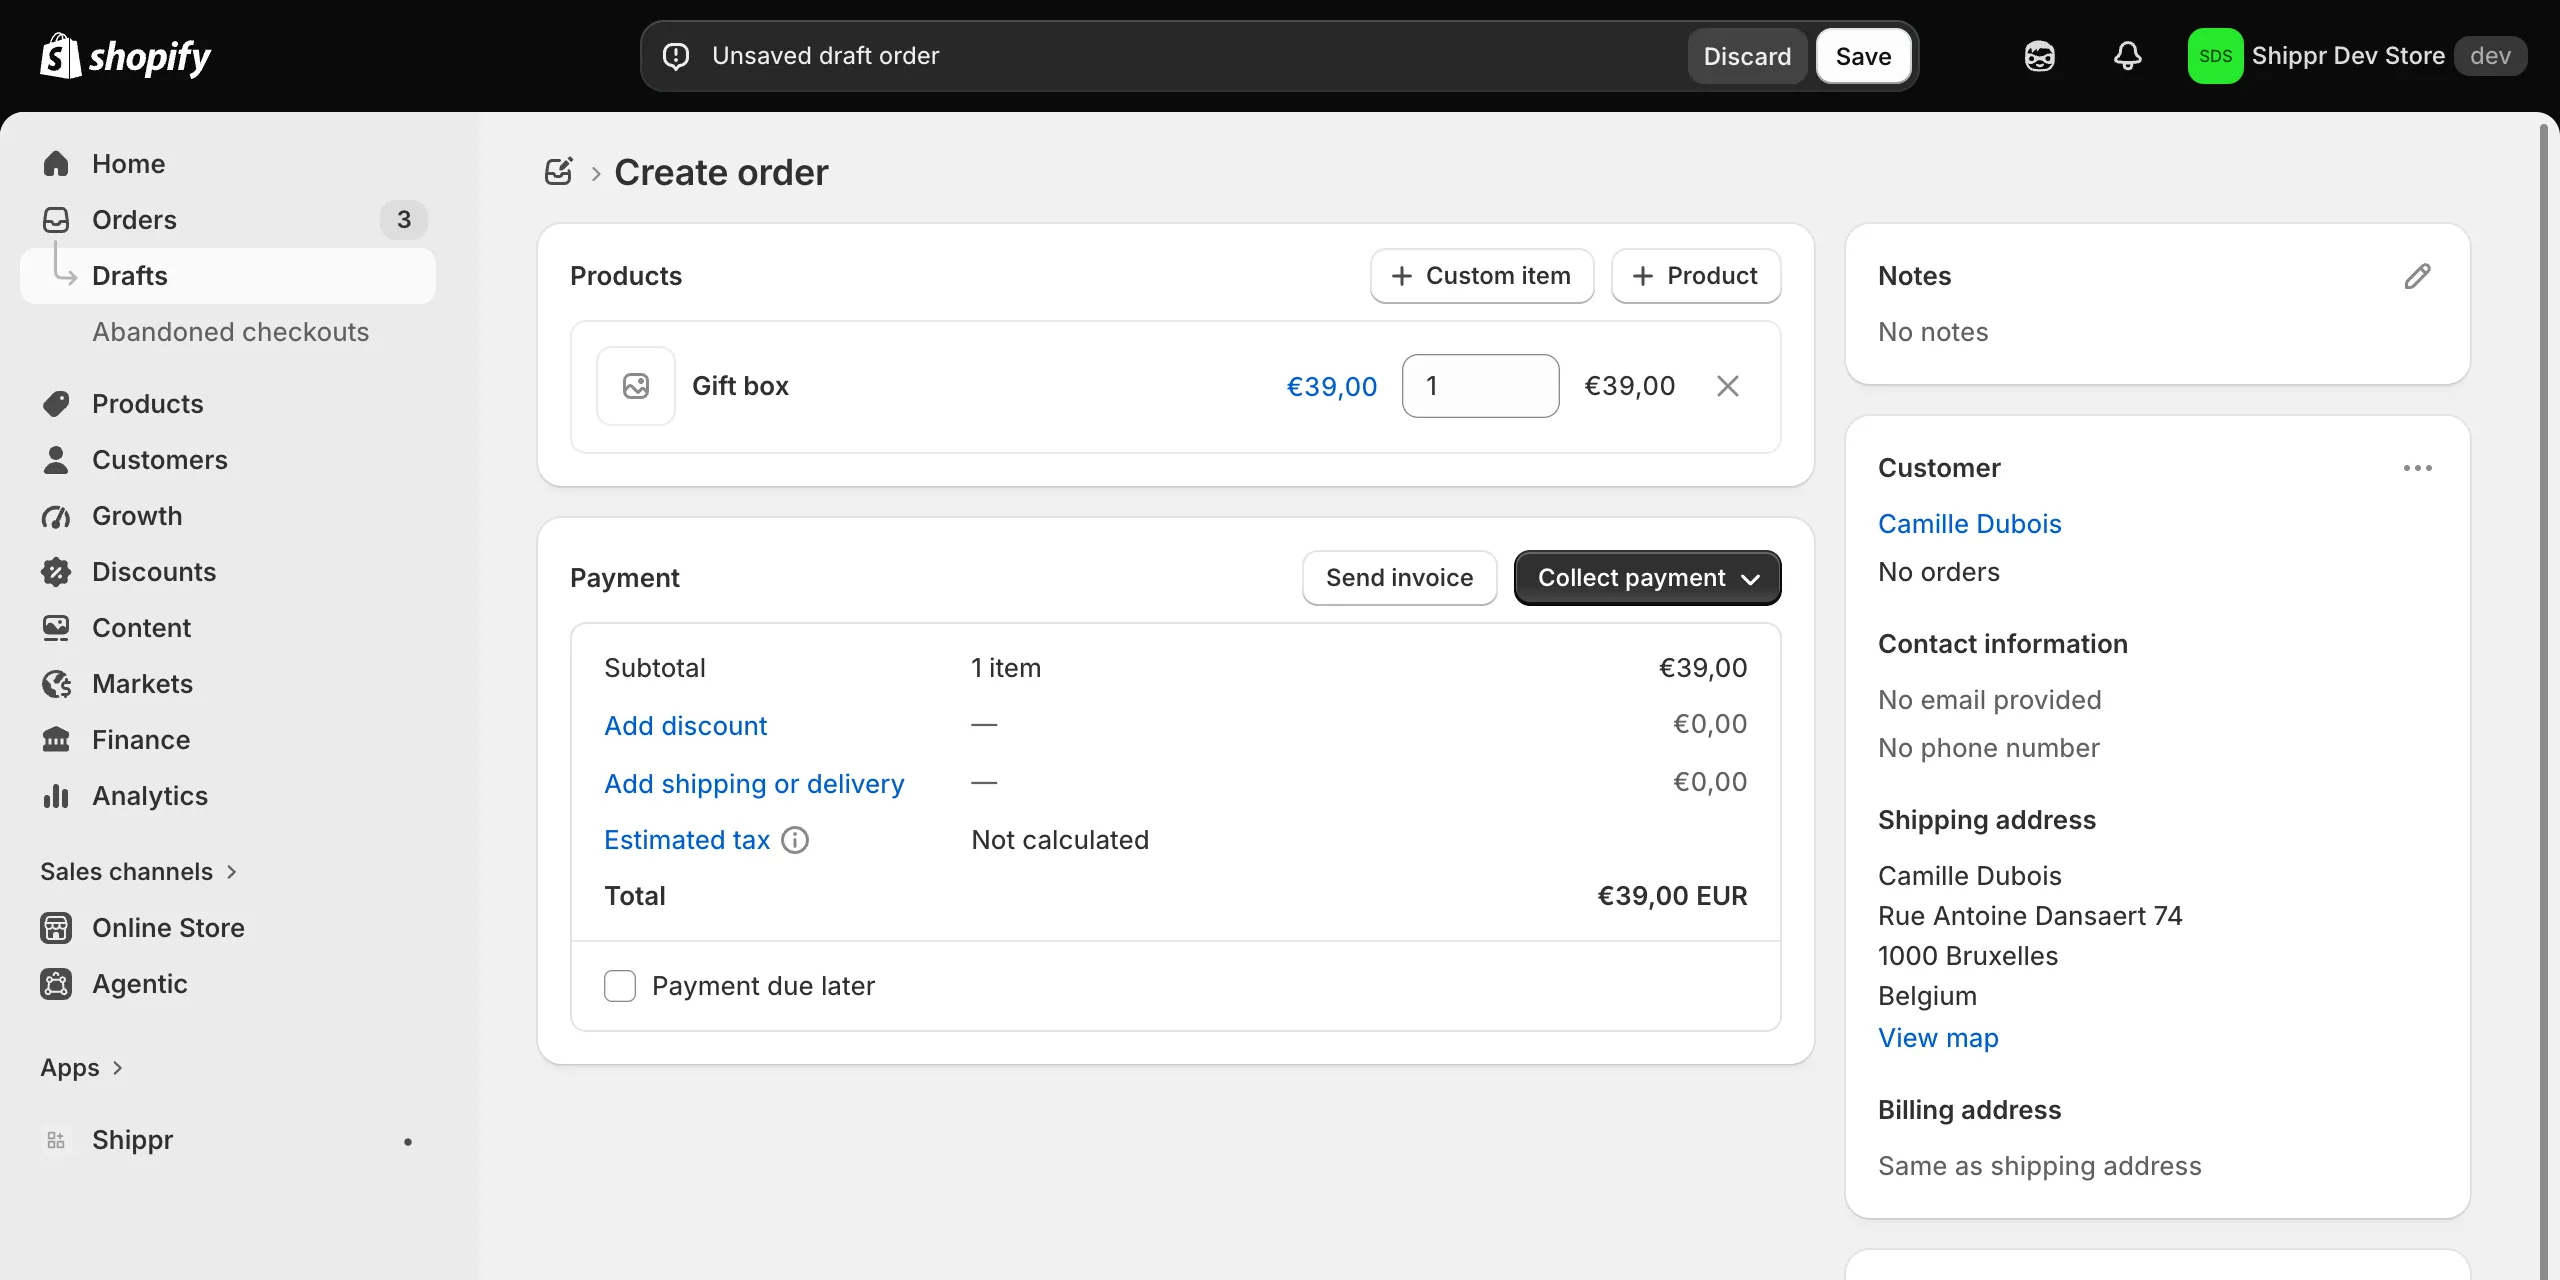
In your Shopify admin, open the “Orders” menu. Your online orders are already there, and you can create one by hand with “Create order”.
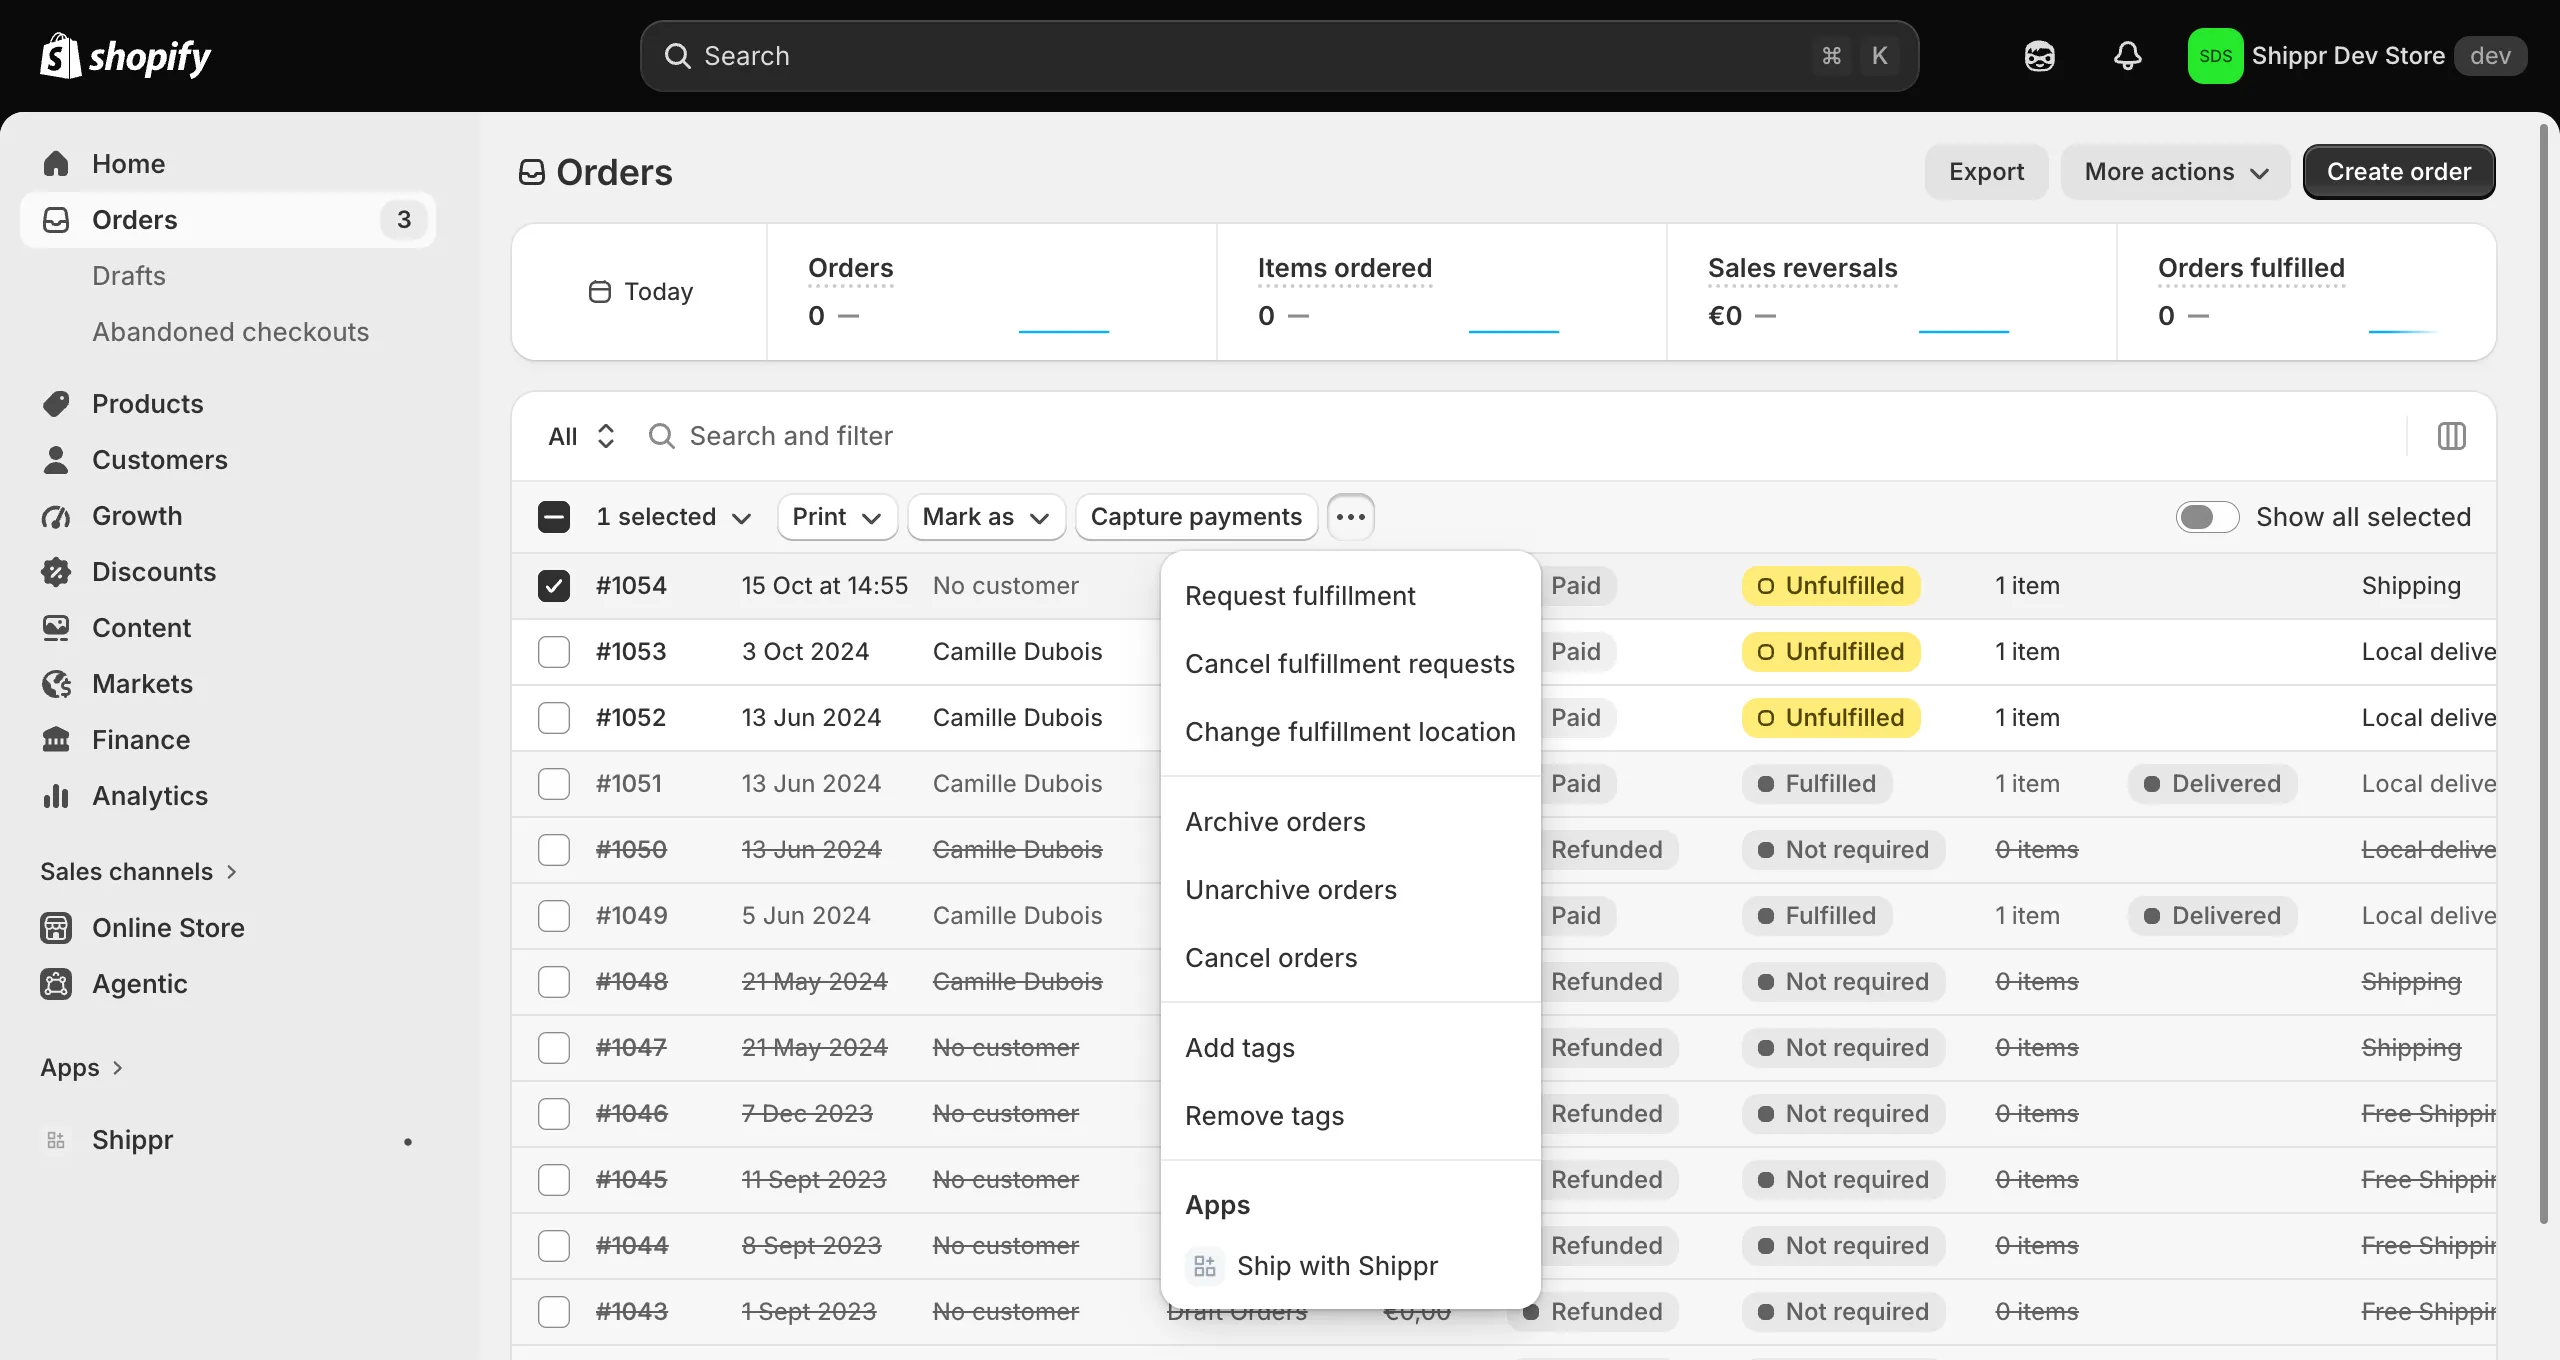
In the order list, tick the order you want delivered. An action bar appears above the list: click the “…” button, then, under “Apps”, click “Ship with Shippr”.
You can tick several orders at once: they become a single delivery, with one pickup and several drop-offs. No more entering everything twice in the Shippr dashboard!
Click “Verify” to check the addresses before you send, then “Create” to create the delivery.
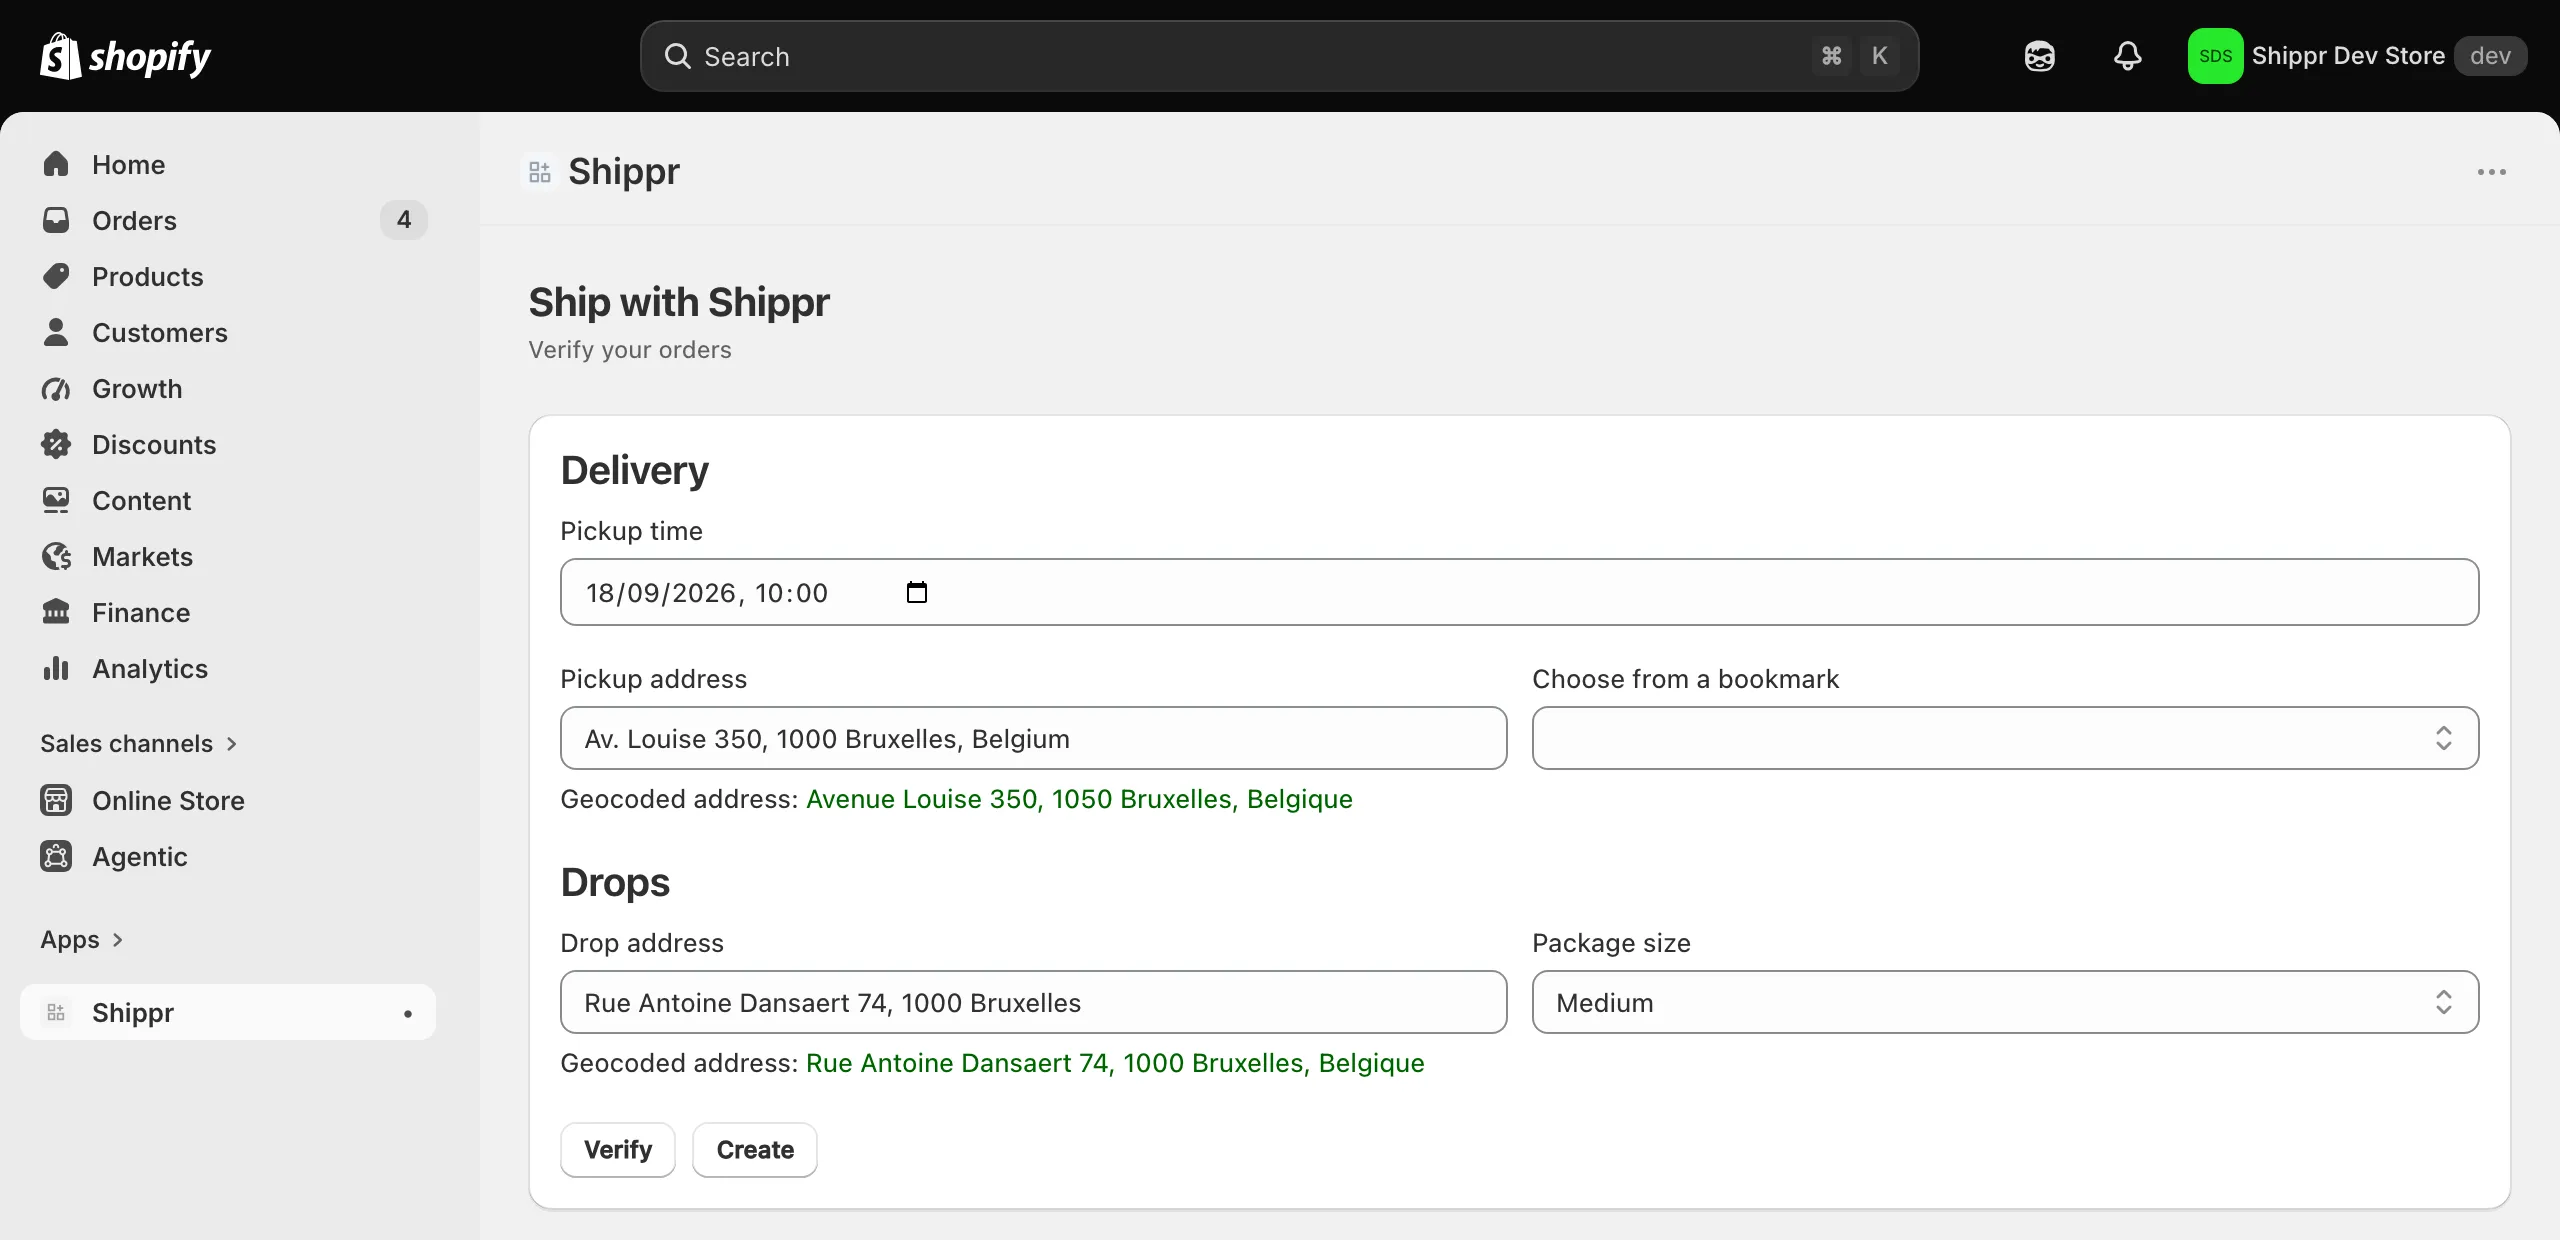
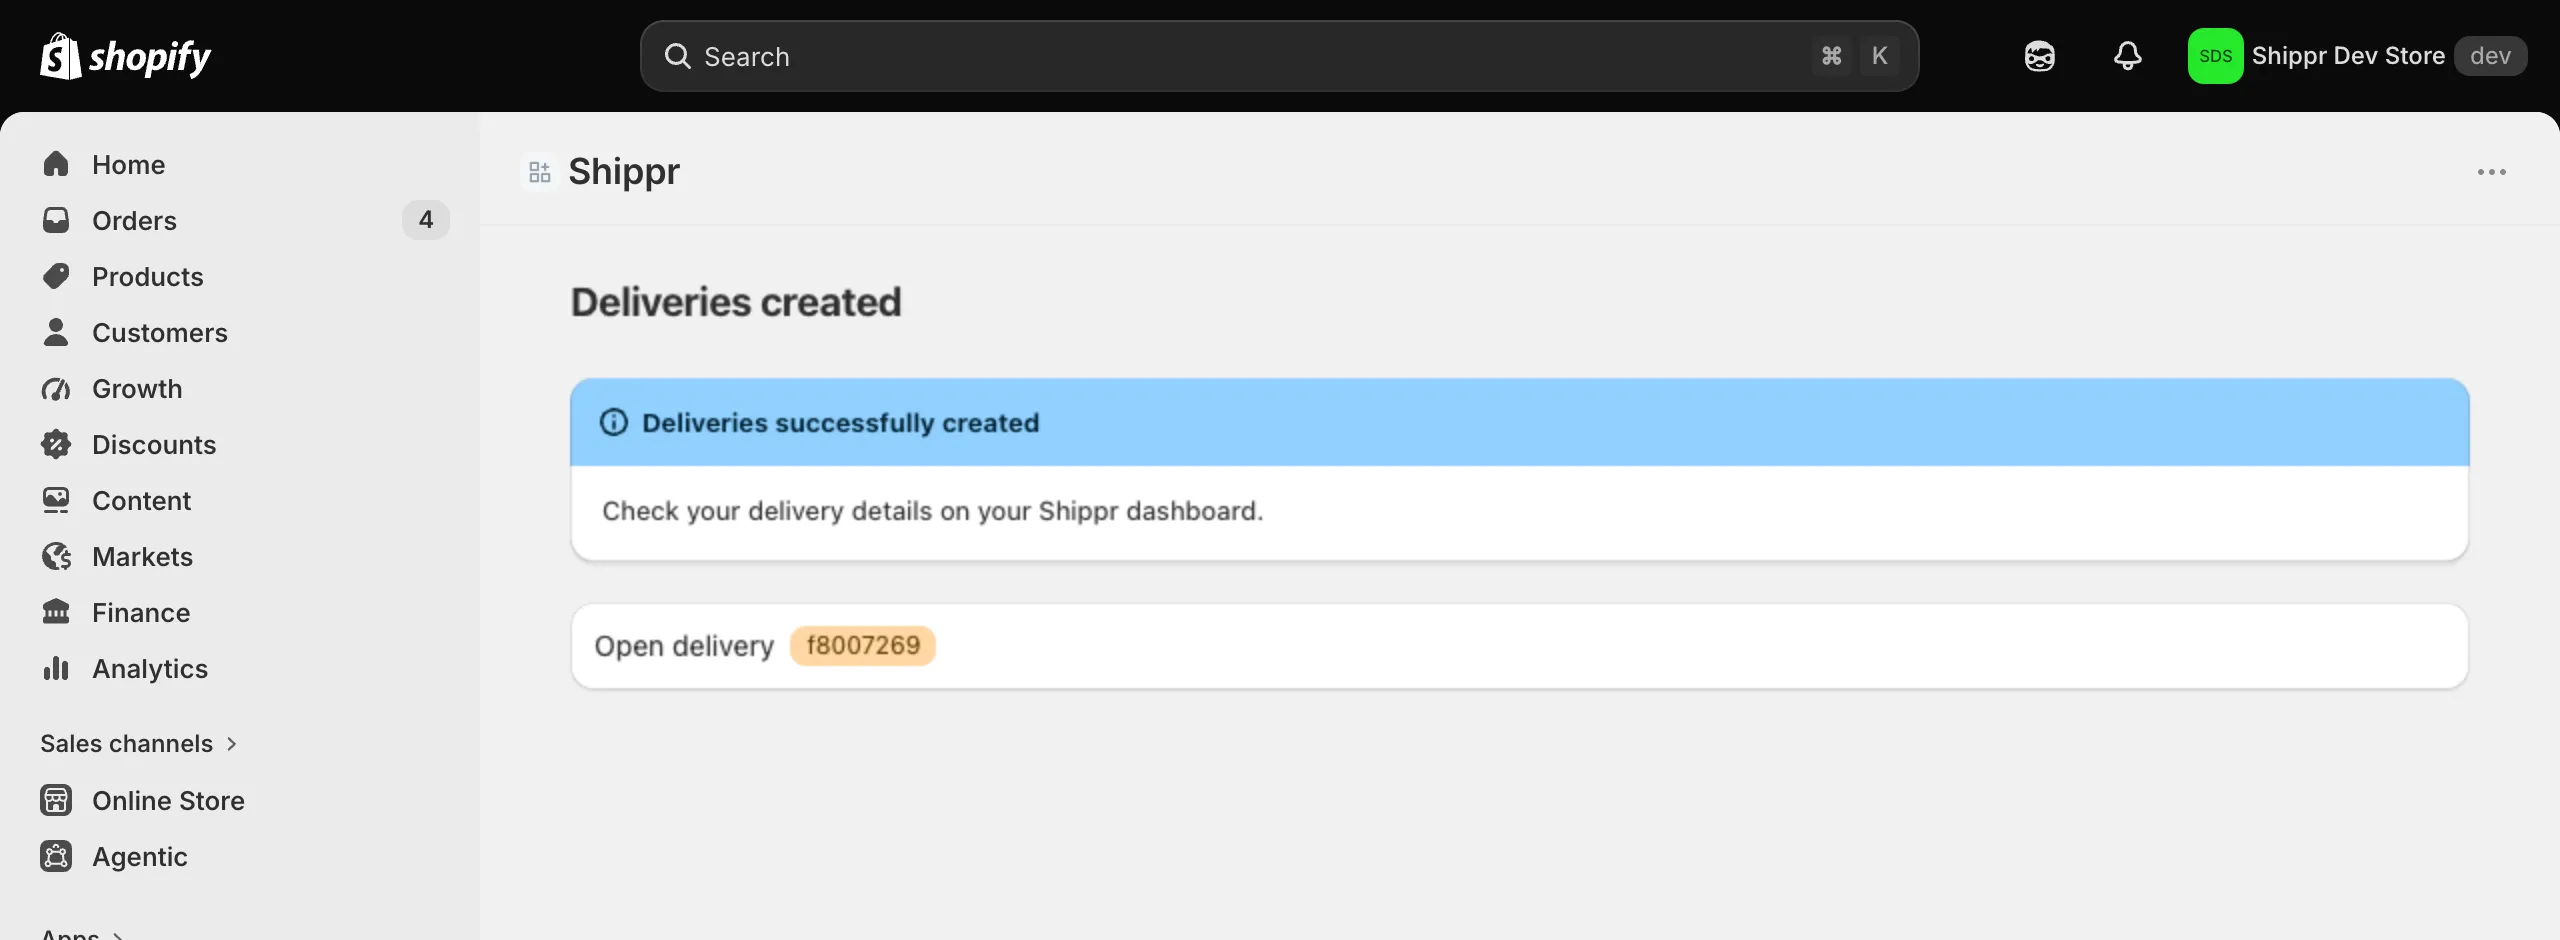
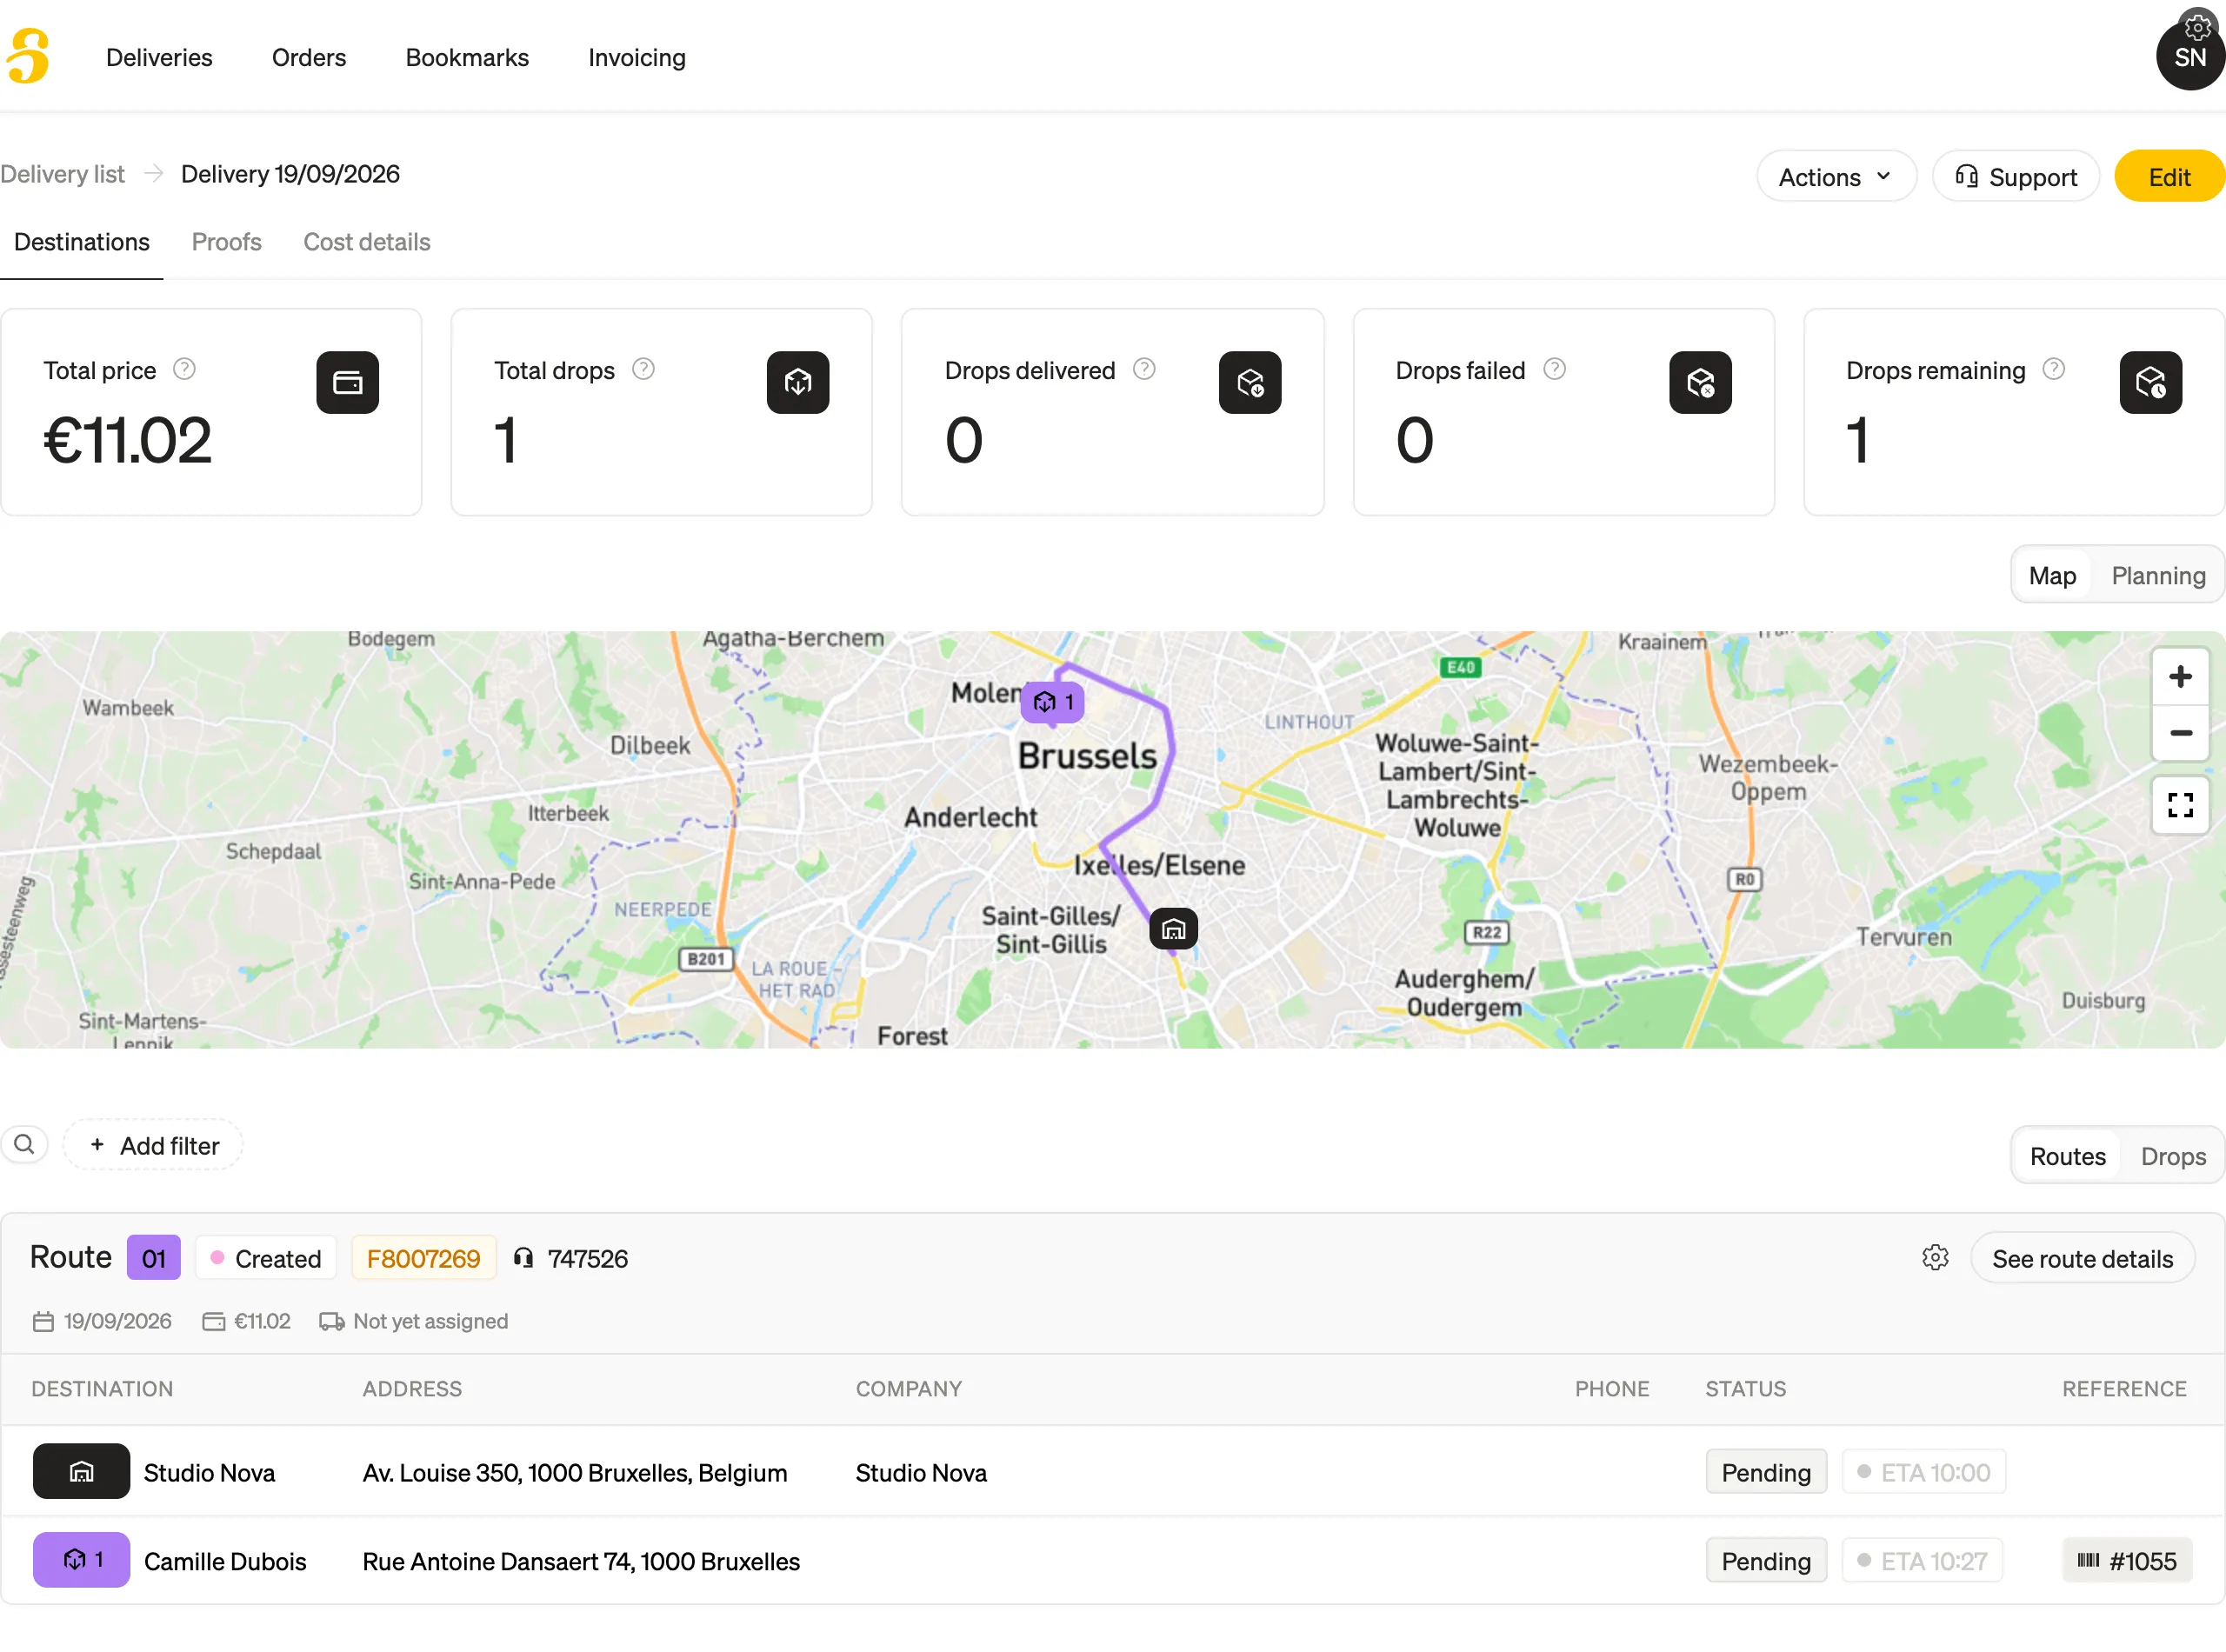
That is it, your Shippr delivery has been created! Click “Open delivery” to open the delivery details in your Shippr dashboard.
Do not hesitate to contact us. Our team is here to help you at any time!